Keep reading to learn how to turn an old wooden crate to a fun and lush garden.
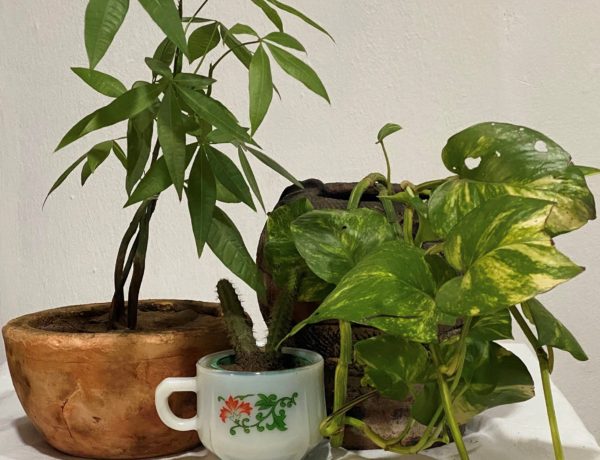
I have been wanting to get plants since I got in to university. In July, I decided to get one plant . I had previously wanted to save up to get 5 plants at once. I took a trip to GRA, Ikeja and got myself a Chinese evergreen. Right after that I tweeted I was itching to get another and my goal was to have 3 before the end of the year.
It’s December and I have 7! It has been 5 moths of learning plant care and figuring out the best home for my plants. I currently live in a hostel and I have a bit of a shaded balcony. It was an important factor while selecting plants to have plants that did well with indirect light.
I decided to put all the plants together in an old crate; the beginnings of my mini garden. Crates are great for growing urban gardens because they are compact and inexpensive. I found this crate somewhere at home.
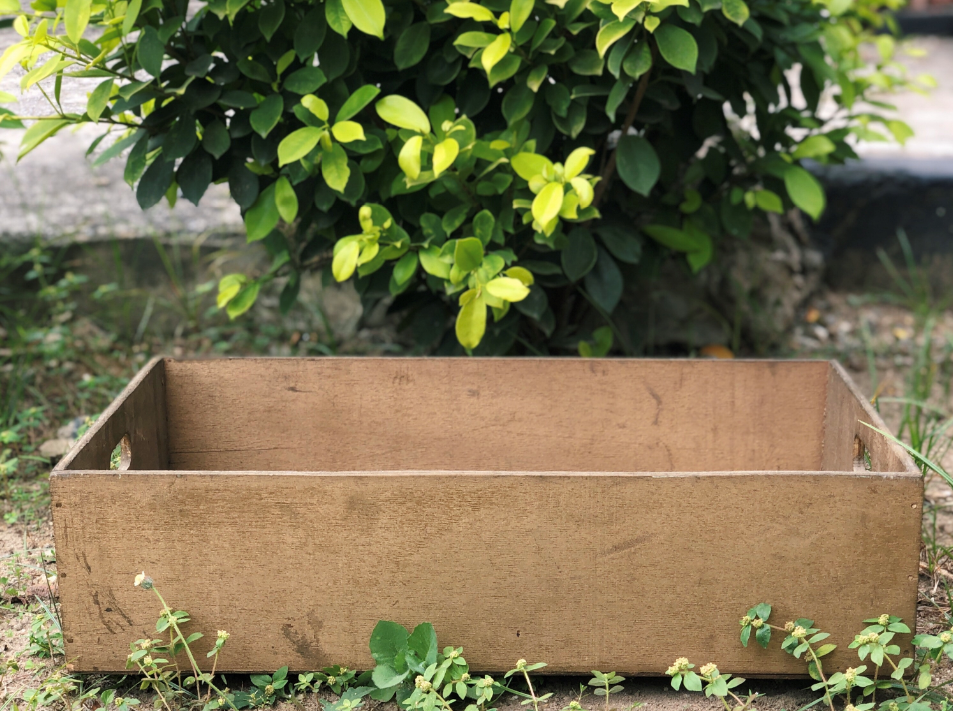
I couldn’t leave the crate this boring brown it was so I decided to put my spin on it with paint.
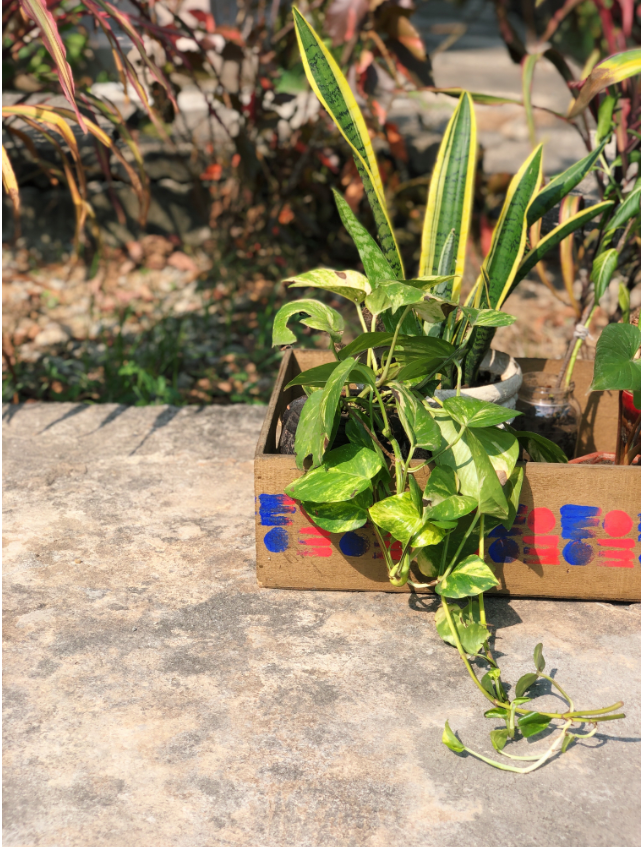
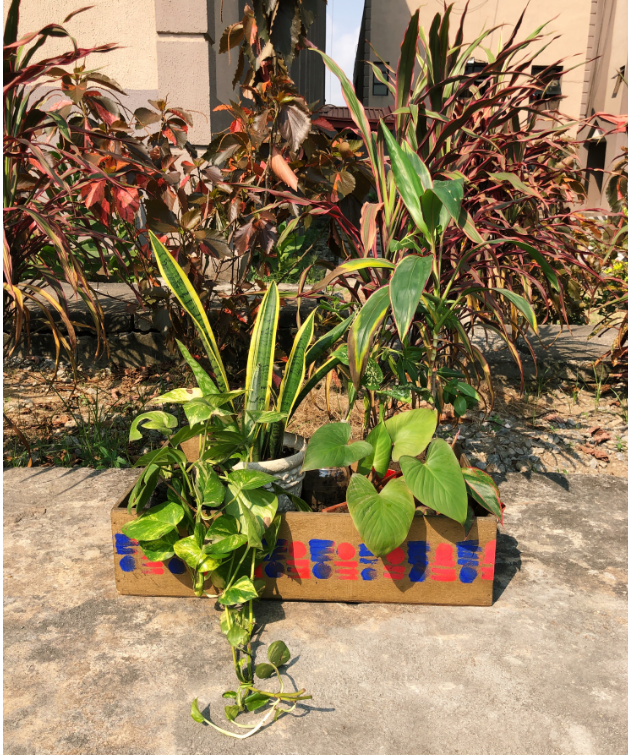
Here’s the after. Not bad right?
Keep reading for a full tutorial on how I went from empty crate to a mini garden.
What you need
- A wooden crate
- A pencil
- A stencil
- Sandpaper;400-600 grit
- Paint; acrylic or gouache work well
- Clear spray paint
Instructions
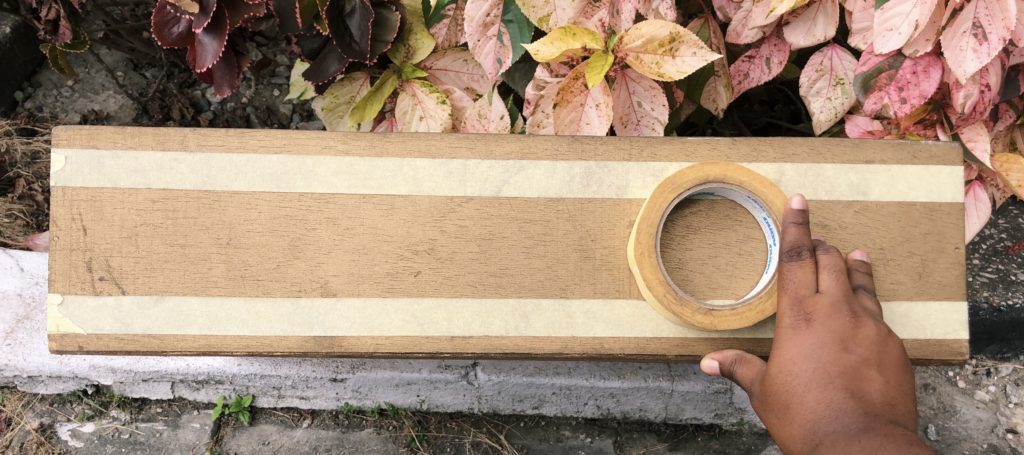
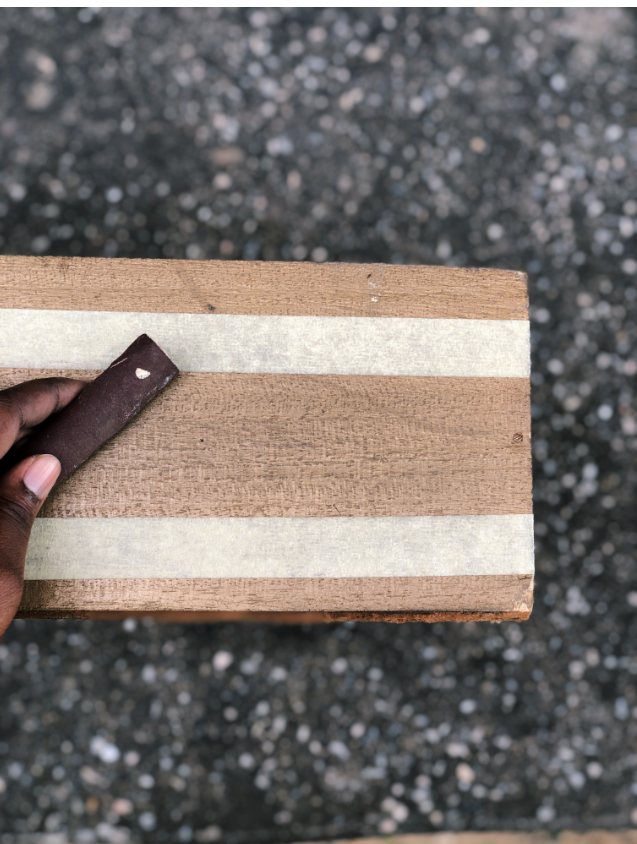
- Place the crate on a flat surface. Determine your stencil’s position and mark that with a pencil. Place masking tape above and below this markings to guide your stencil placement. If you think your eyes do well as a good guard you can skip this step
2. Sand the wood with sand paper .You may decide to sand just the section you wish to paint. Sanding will dull the shiny surface of the wood and cause the paint to adhere properly. This is especially important if it has been stained or lacquered. You may also decide to sand the entire surface. I sanded my crate with a 500 grit sandpaper because it didn’t have too much of a shine.
3. If you have some primer paint you can apply that and leave it to dry. This is an extra step to allow even move paint adherence.
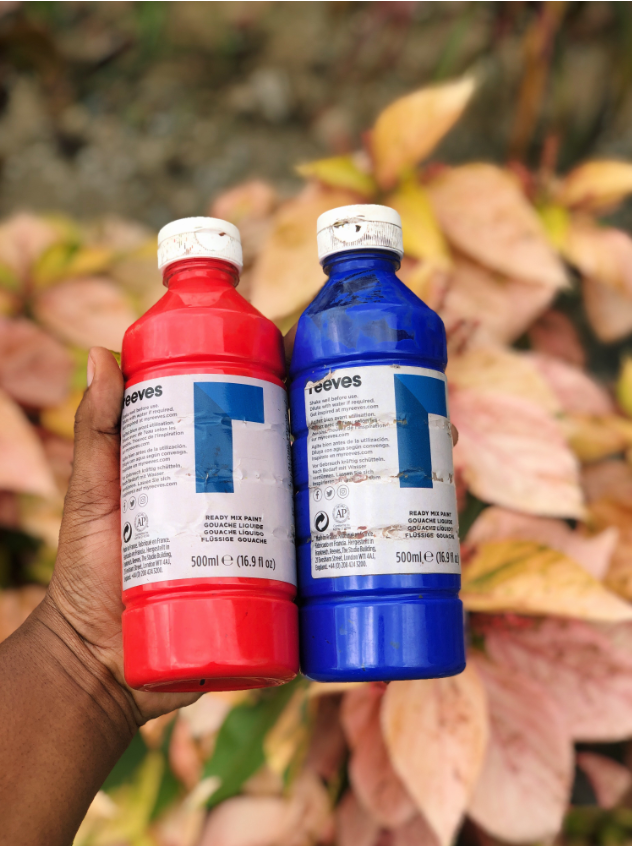
4. Now we paint! I used gouache paint from Reeds in brilliant blue, brilliant orange and a neon pink I mixed. The stencil was purchased from Gem dye stores in Fadeyi for about 500 nairas. I stamped the stencil on to the the wood and played with the position as I went around. It doesn’t have to be perfect, try to maintain a steady hand and a calm mind.
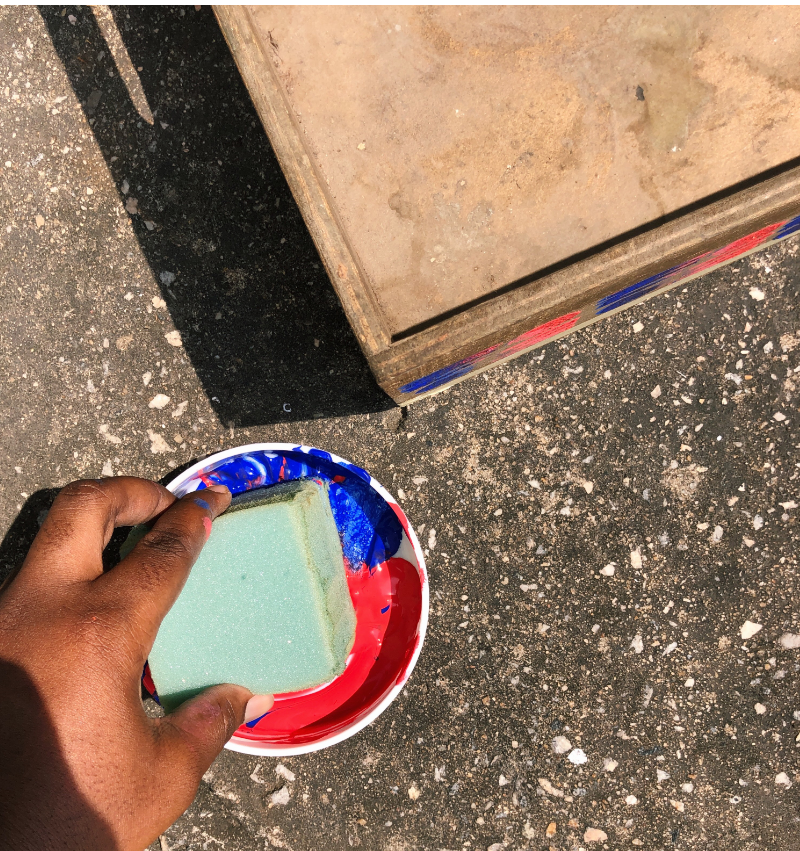
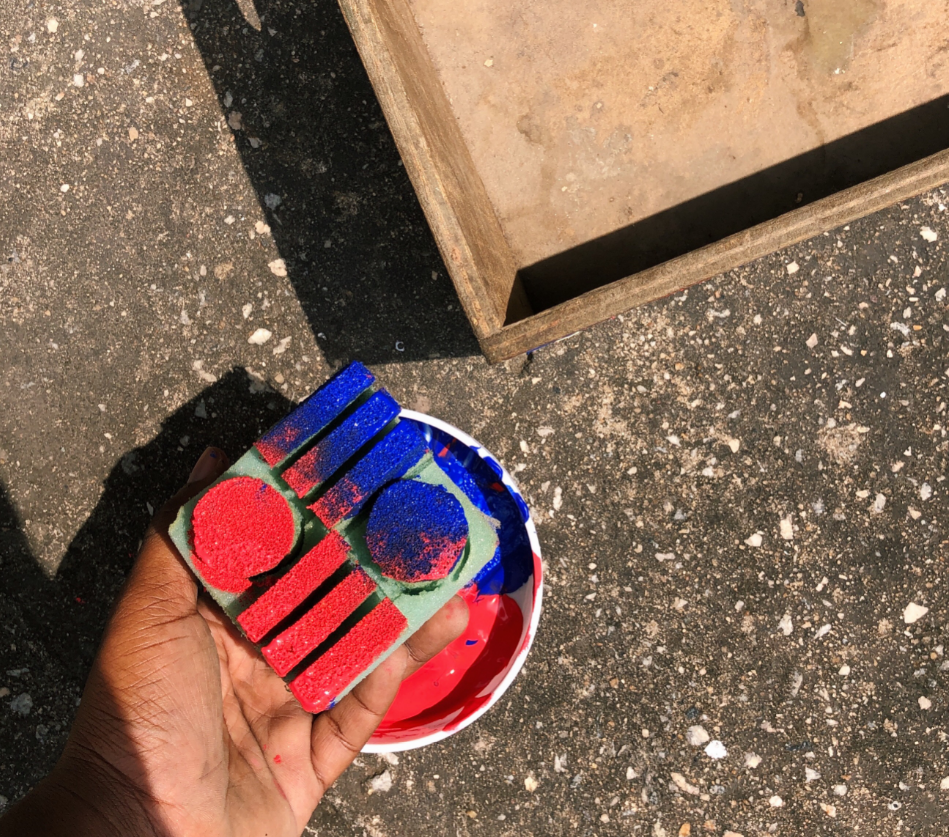
Note: I would advise preventing the stencil from picking excess paint paint on your stencil. Excess paint causes smudging. Also, You may need to place the stencil twice on certain sections where the stencil doesn’t print clearly
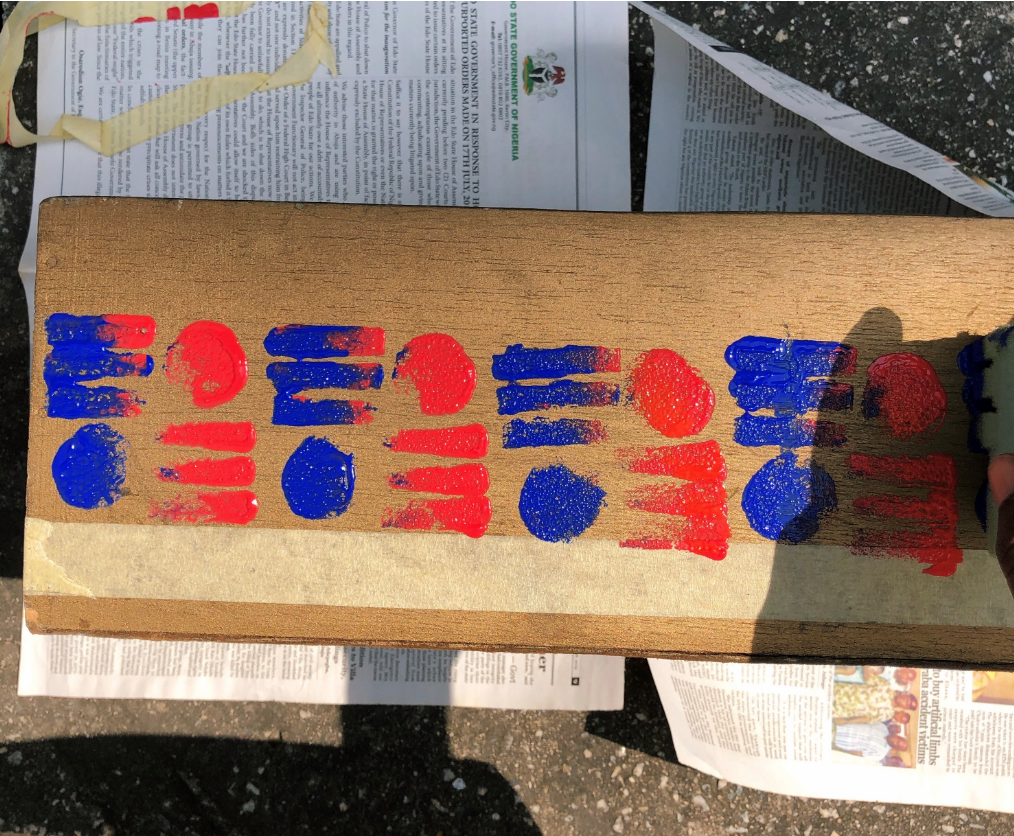
5. Leave it to dry. I left my crate out in the sun to dry for about 3 hours. You may need more time depending on the kind of paint and design you went with.
6. Seal with clear spray paint . Because I wanted a light gloss, I went in with my clear spray paint. It is advisable to do this outdoors with some nose covering. I let this dry for another 2 hours.

7. Place your plants in to the crate. I lined my crates with some old newspaper to prevent run off water from getting in to the wood and rotting it .
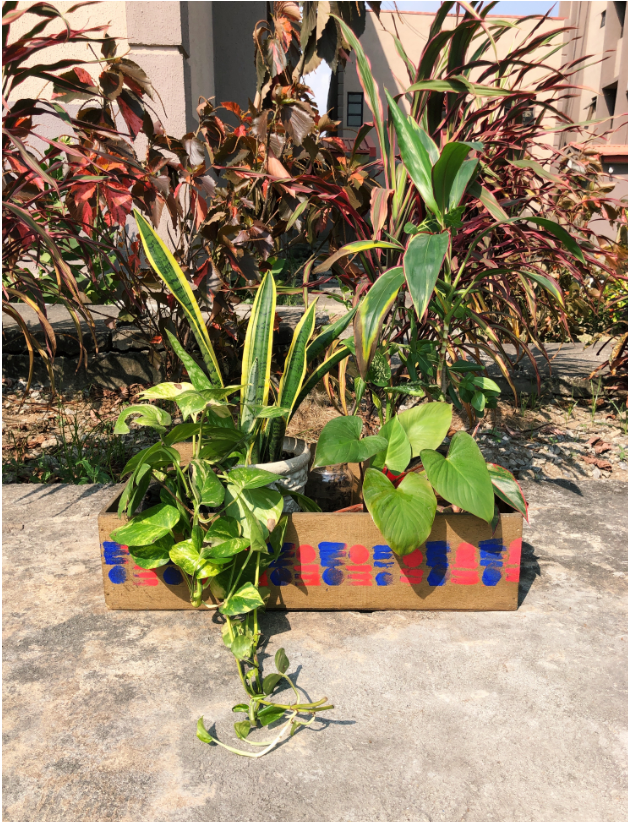
Here are 6 of my 7 plants. I have a snake plant, a Madagascar periwinkle, a Cordyline pink diamond, a Chinese evergreen, a Golden pother, an Angel wing plant and a small Dumb cane.
That wraps up how I went from an empty crate to a mini garden
If you liked this tutorial. Here’s a link to tweet it.
Let me know what you think of this tutorial in the comment section. Are you considering creating an urban garden? What ideas do you have to put it together ?

2 Comments
Cedric Noronha
December 6, 2020 at 2:21 pmVery good post about the transformation from an empty gate to a mini garden Highly informative and nicely written. Keep up the good work.
oluwakemiagbato
December 20, 2020 at 11:30 pmThanks for reading!