In earlier blog posts, I made a list of where I get free art from and my vintage decor haul from March. The intention for the frames and art was a gallery wall.
I love gallery walls. They are a great way to fill up an empty wall, create a focal point, distract from design mishaps and generally just entertain the eye. And they don’t always have to be all framed art. Fabric, beads, and objects can be mixed in to add some extra flair.
Here is how I went from an empty wall to a mini gallery wall I am most proud of.
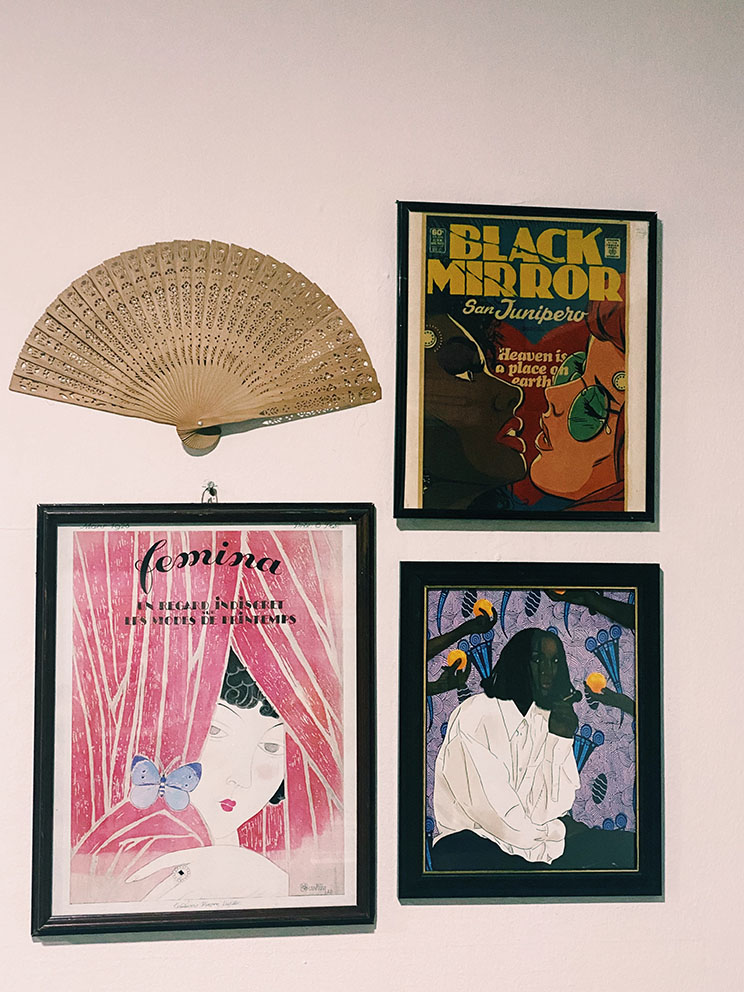
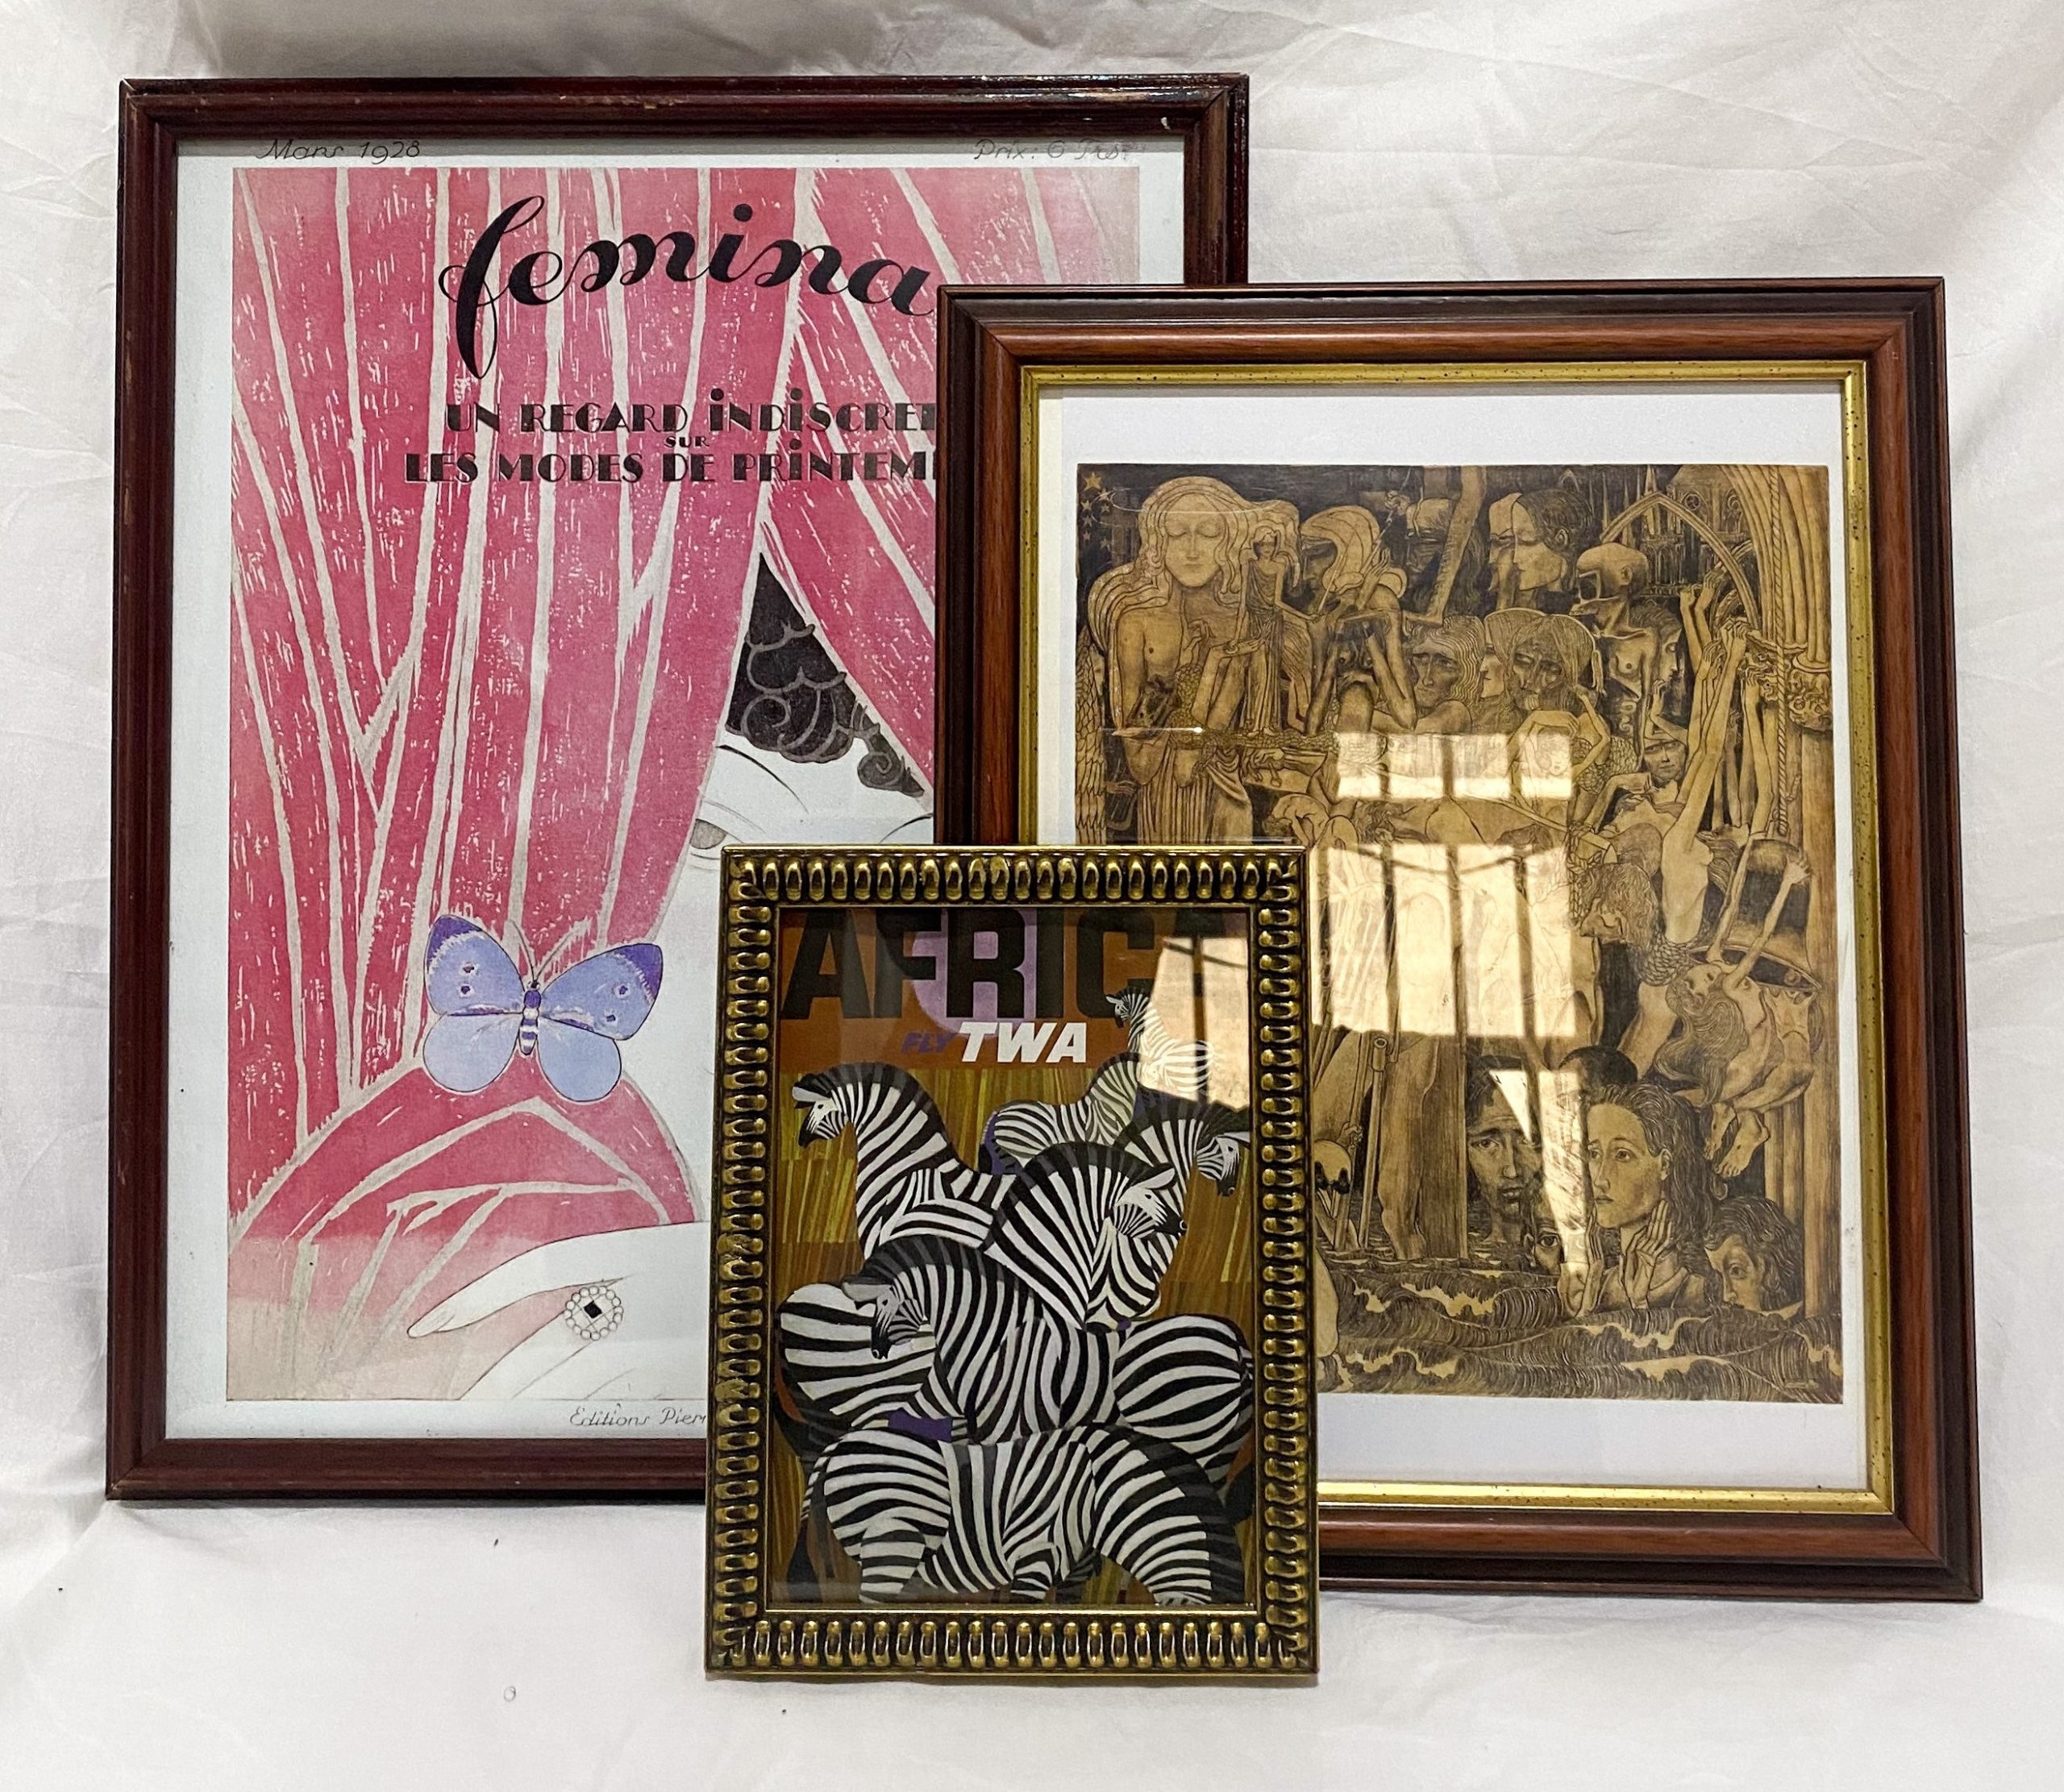
1.Choose what you want to hang. The key to having that eclectic gallery wall is to collect! Photographs, prints, art and all of that good stuff. I knew wanted to hang art and one or two objects. I also knew I wanted a difference in art sizes because that works better with a random arrangement. You may also need to decide how many items will go on the walls as this will determine the lay-out. Even numbers and sizing means you can achieve a sleek symmetrical look. I wanted a bold and colourful gallery wall. I had the pink art printed, I bought the black mirror print and the Uzo art print was a gift. The hand fan belongs to my mom and I convinced her to let me have it.
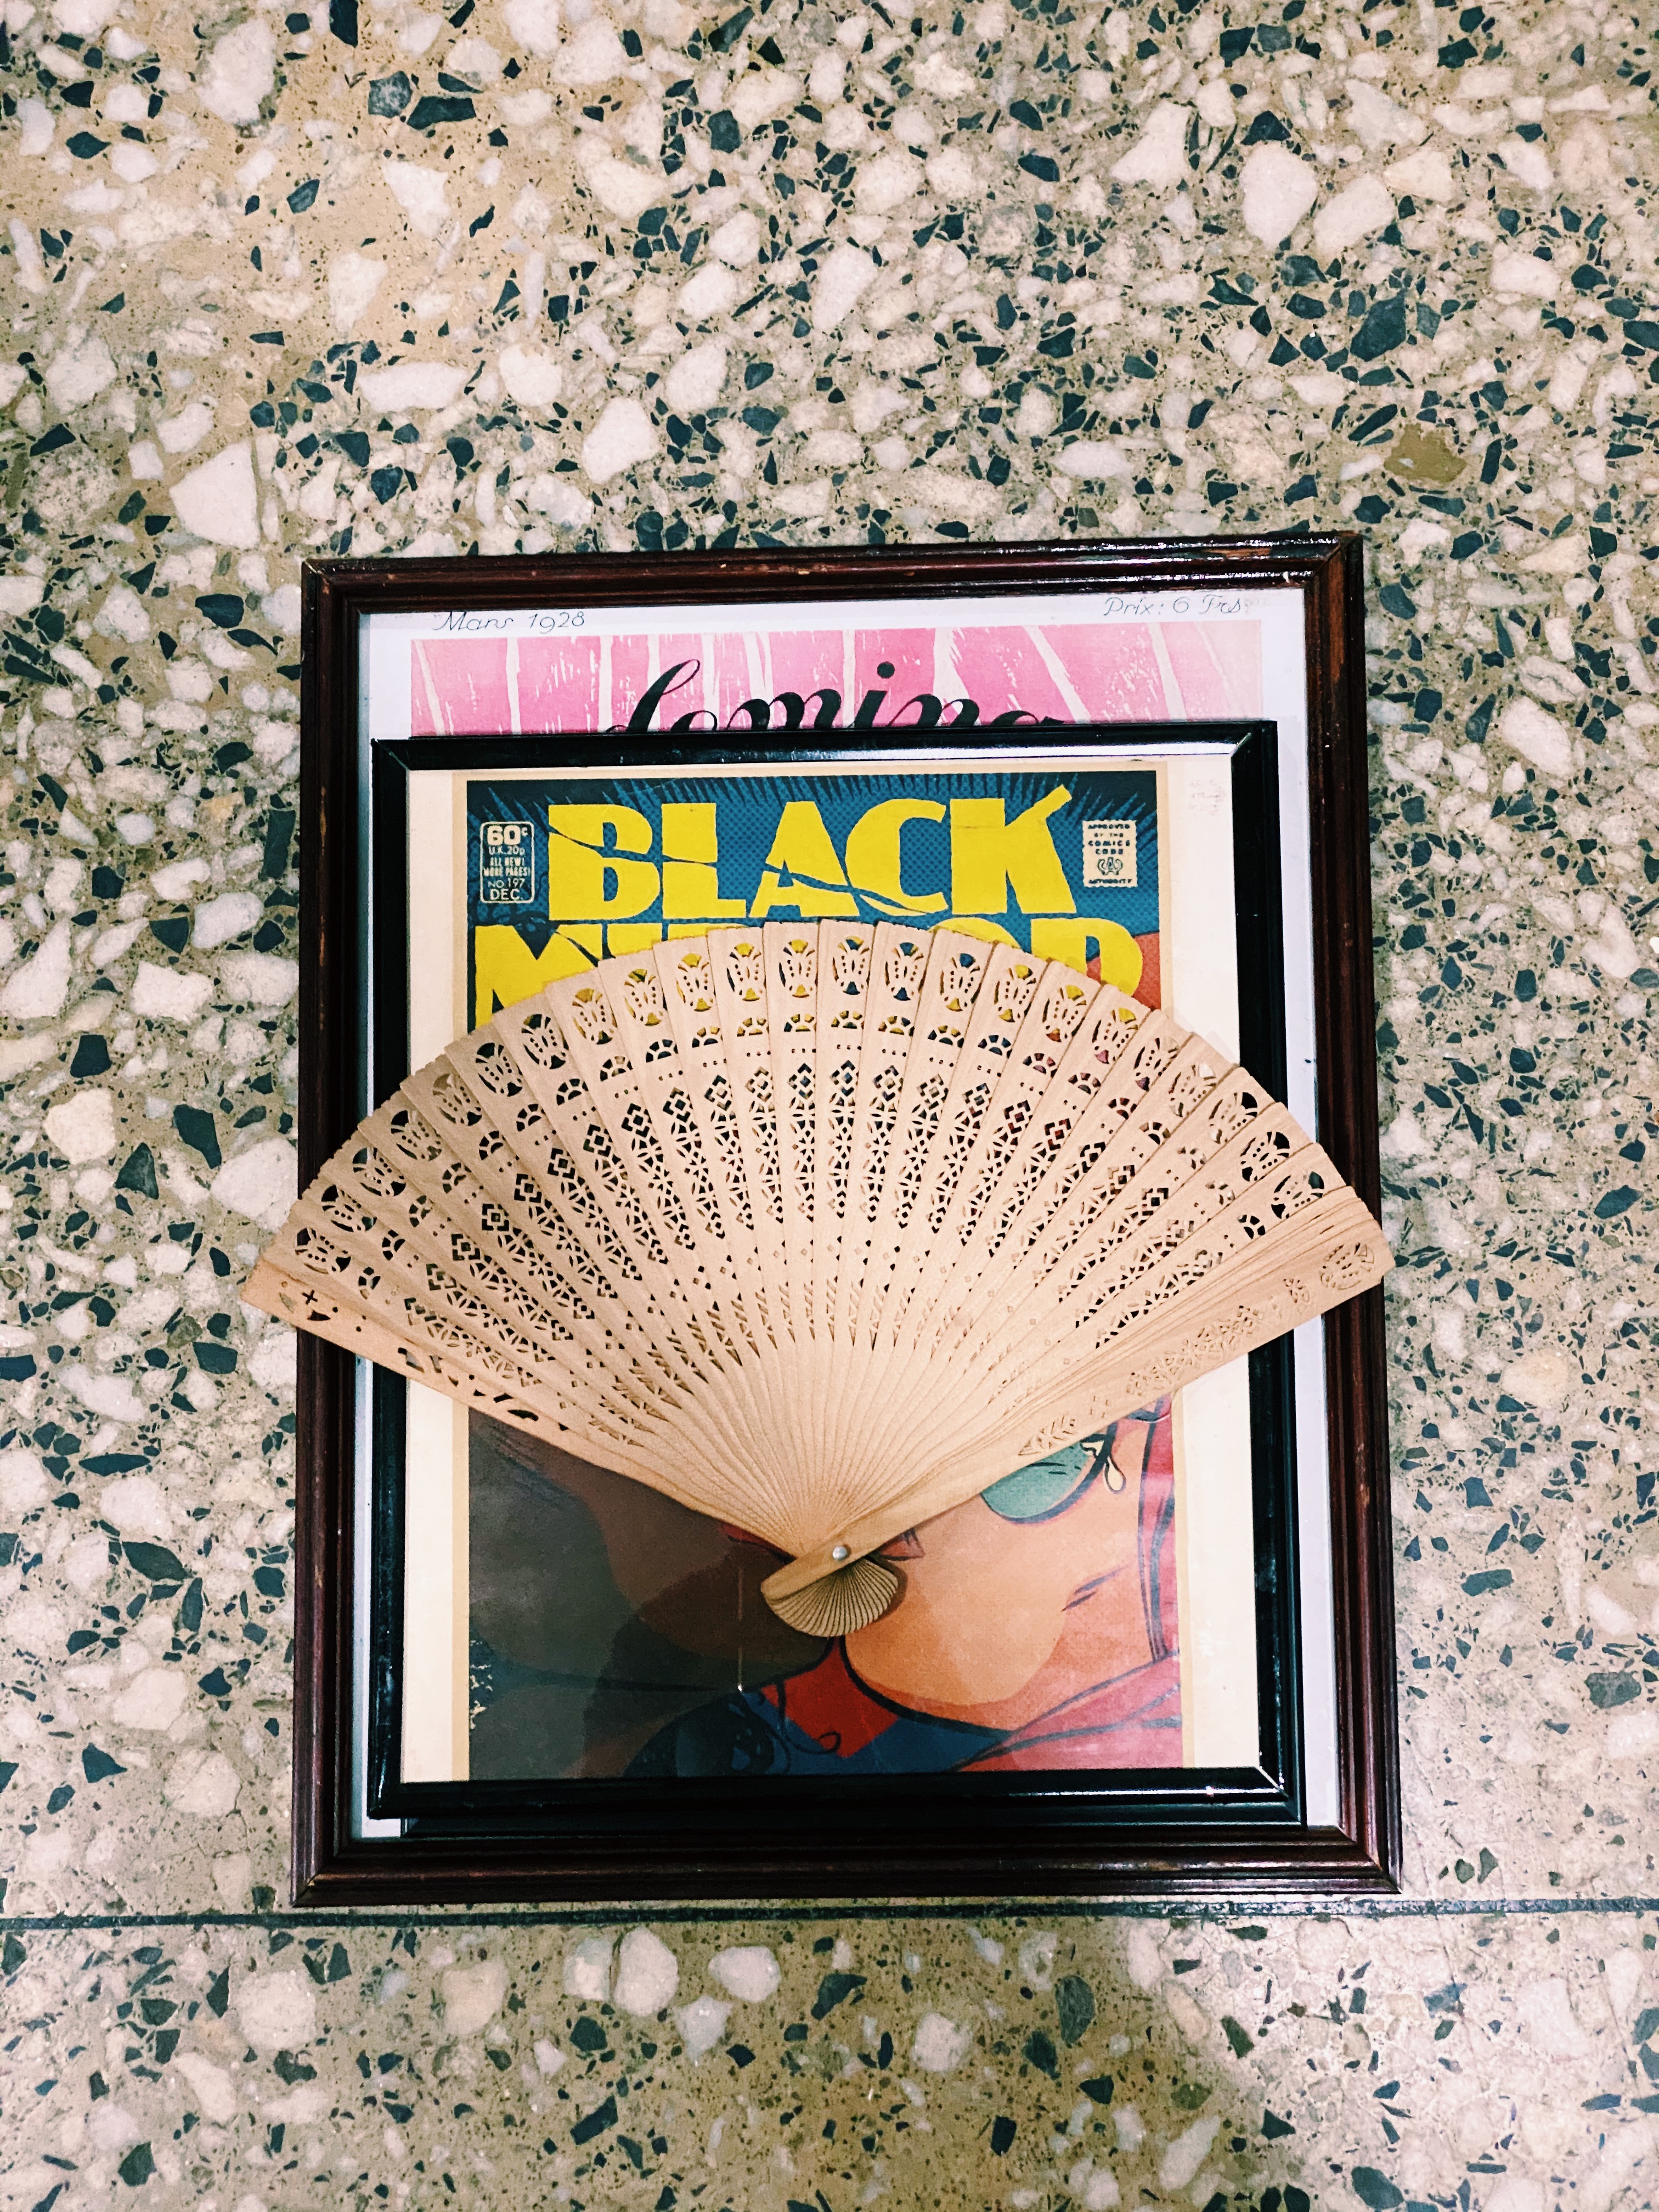
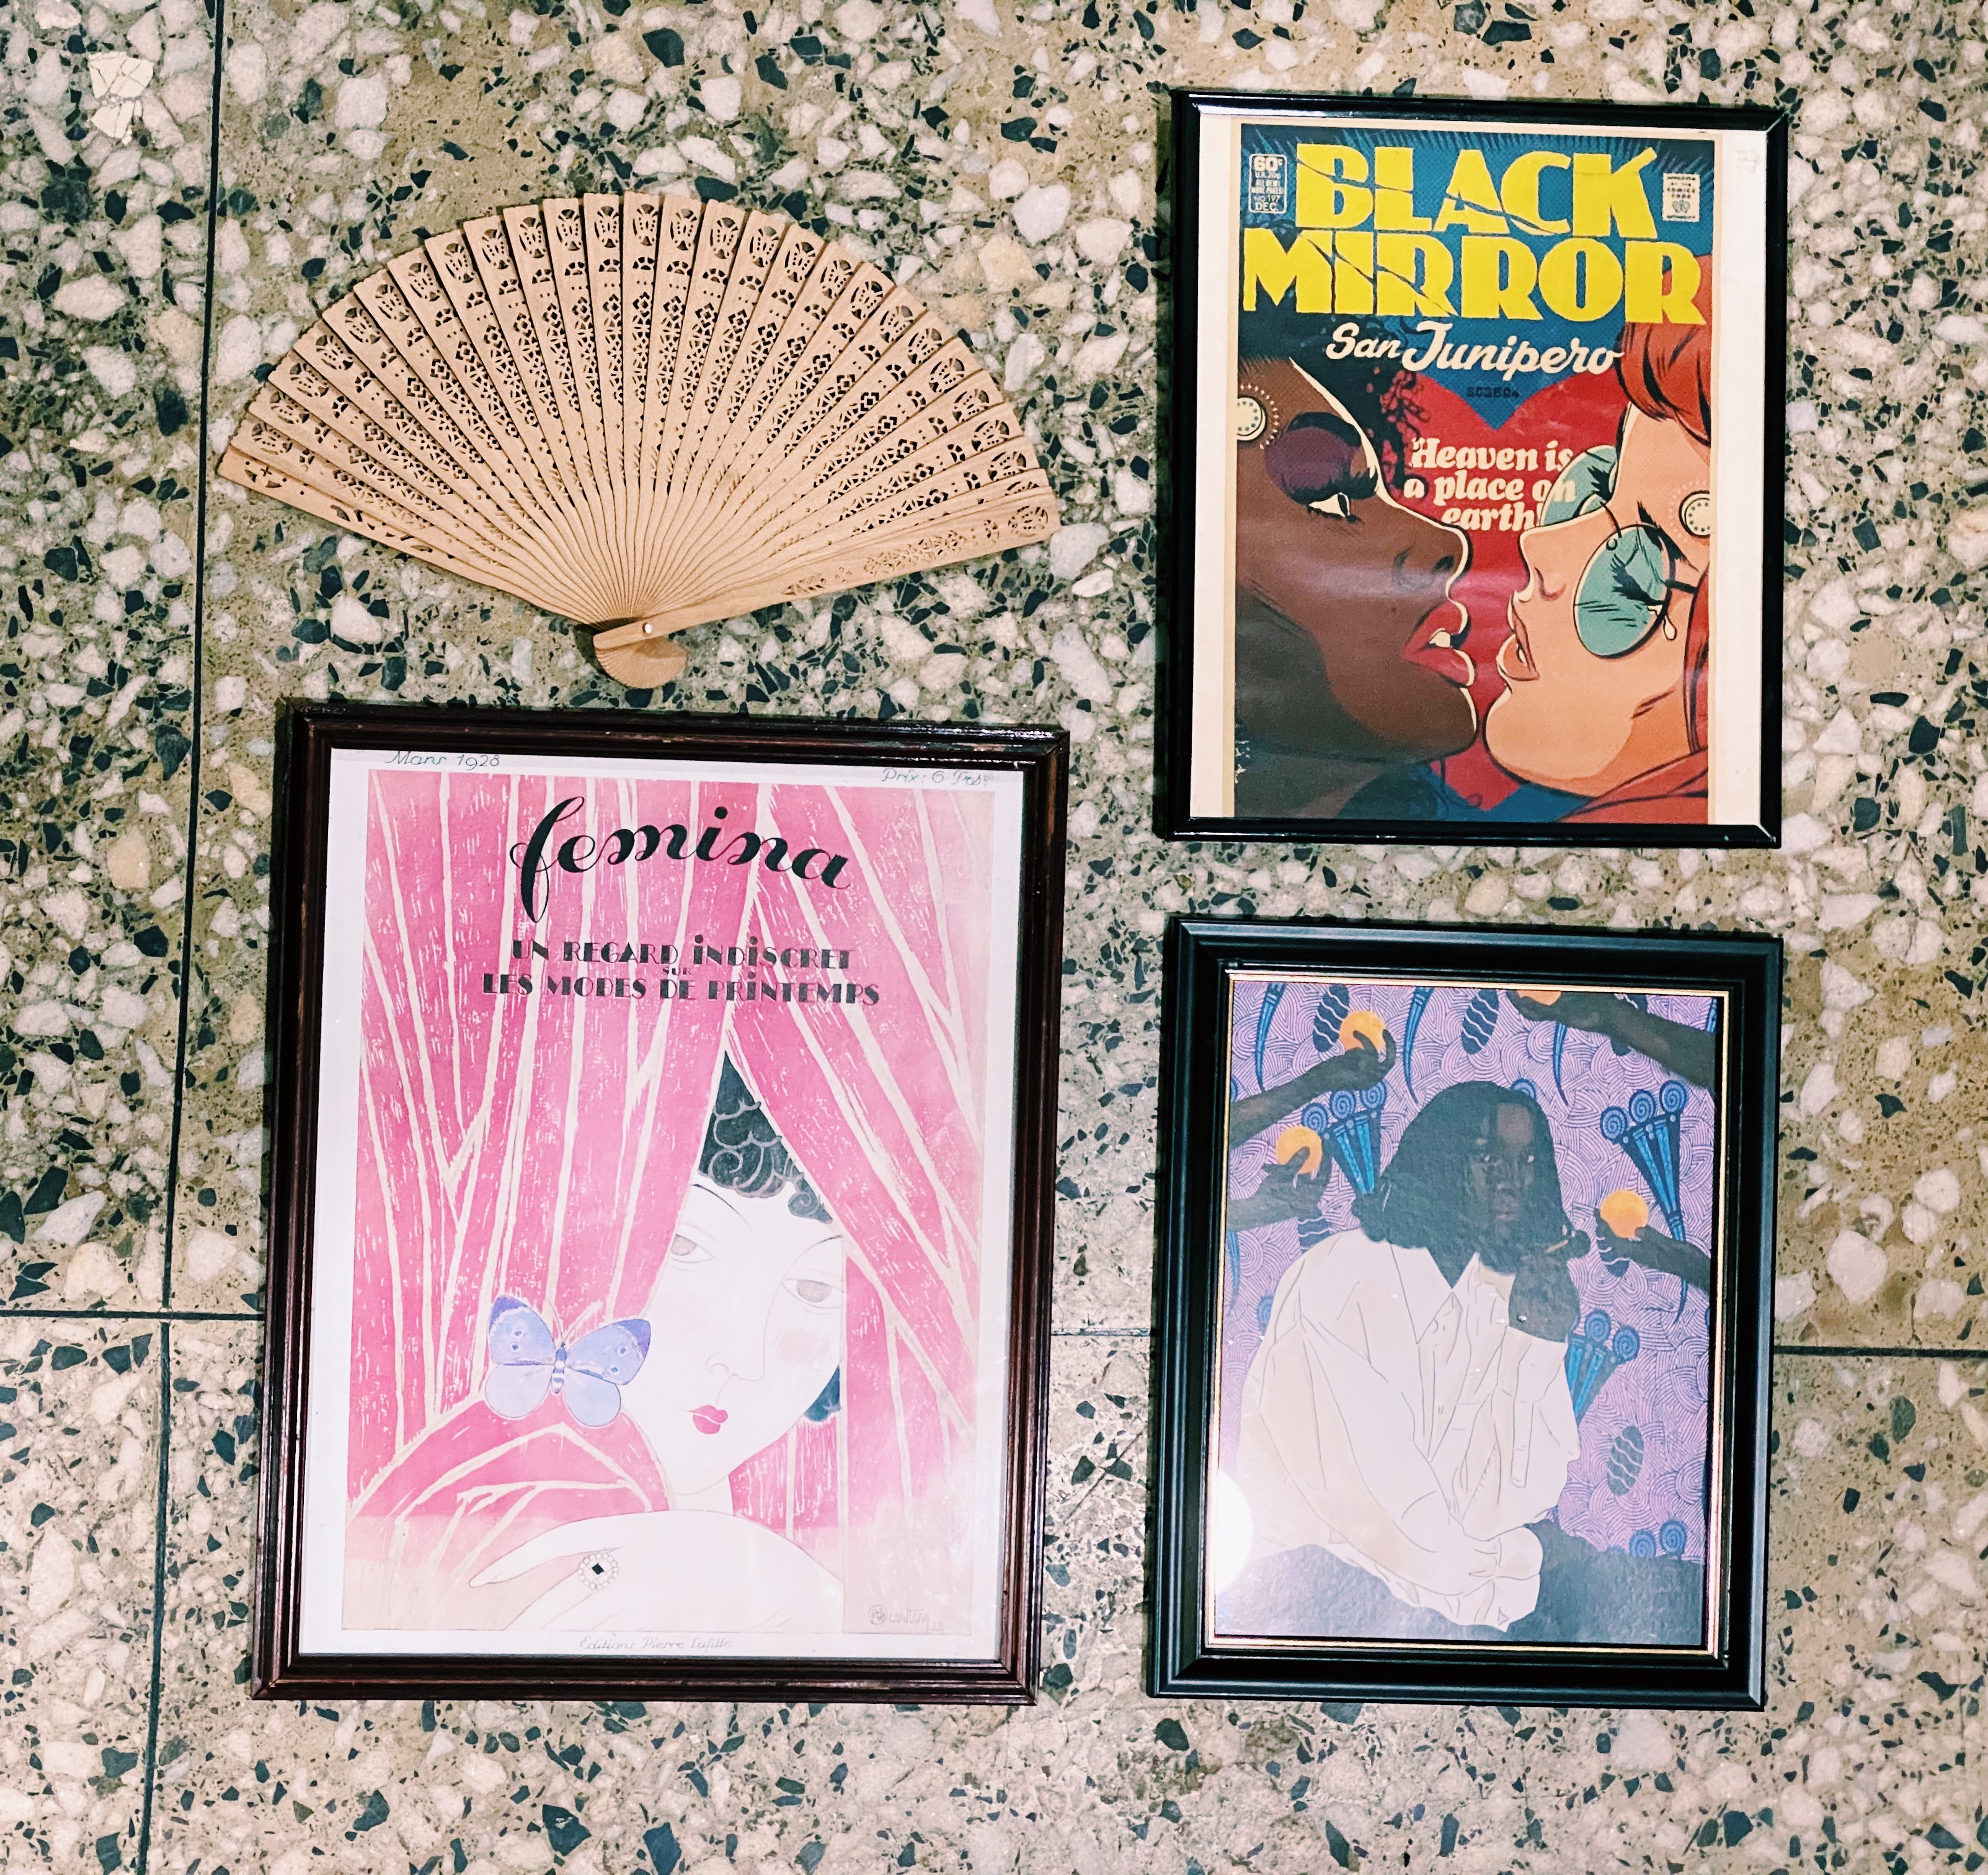
2.Make sure it works Lay all your art and pieces on the ground with spacing to see how they would look together. Does something look off or odd? Maybe another piece needs to be added or removed to make things work. Perhaps the wall you chose is a bit too small for the pieces. You need to make sure everything works together. If you are unsure you can pick a theme. Florals or perhaps old family photographs. You can also scour Pinterest for gallery wall layout templates which give you an idea how scale works.
3. Choose your frames With art or photographs it is common to frame the piece. You have to decide on how you would like your frames to look. Would you prefer an all-white scandi- look or an eclectic every frame is a different look? Pinterest is the place to get your ideas flowing. If framing is above your budget There are clever ideas like clip hangers, washi tape and magnet frames. I decided to frame my art. This was possible because I thrifted all but one of the frames I used
4. Choose how you want to hang Nails? Hooks? If you don’t want to put nails on your walls, the option of adhesives like commando strips/hooks exists. I decided on a mix of commando strips and nails.
5. Pick your layout Do you want a symetrical arrangement or something more organic? You can experiment like I have done by cutting out place holders for each hanging, taping them to the wall and moving them around to see what works. This method helps you visualize things a bit better than looking at things on the floor I’ll advise you to maintain even spacing between items because that gives visual balance.

6. Hang it up You’ll need a pencil and a ruler to mark where things go. A small dot at the center of the template and marks where the corner of the frame will be will guide your nail or hook placement. Also, have an eraser handy for mistakes. I used a plumb line to make sure everything was straight. If you don’t have a plumb line, you can download it on your phone. Just be careful not to drop it.
7. Look at it Your gallery wall! Who knew it could be this easy. I will probably leave things as they are for a while before changing them up. That’s the beauty of the gallery wall. Changing the theme or swapping some pieces out for others achieves a different look.

I’m still so excited I completed this project. I don’t have much bare space on my walls to create another gallery wall. I’m itching to move into a proper flat. Best believe I will be suggesting a gallery wall to my clients.
What do you think guys? Any questions? Let me know in the comments section.
Don’t forget to share this post!

No Comments